Adding New Products
Step-by-step guide to adding products to your PineBill catalog.
Quick Start
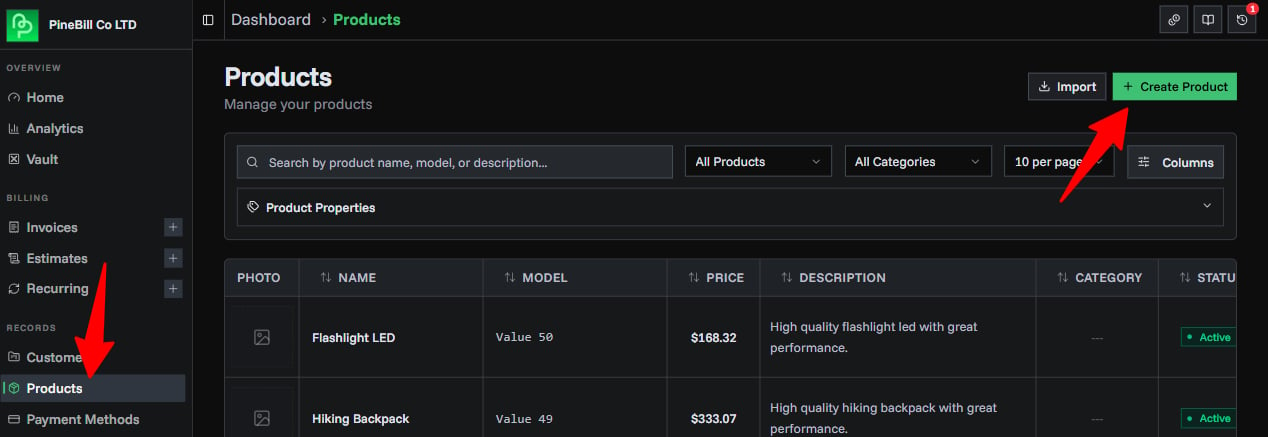
Navigate to the Products page and click the Create Product button to add new products to your catalog. Products can be reused across multiple invoices.
Product Types
PineBill supports two types of products:
| Type | Description | Persistence | Use Case |
|---|---|---|---|
| Regular Products | Saved to your catalog and reusable across multiple invoices | Permanent | Recurring items, standard offerings |
| Temporary Products | Created on-the-fly during invoice creation, not saved to catalog | Invoice-only | One-time items, custom services |
This guide covers Regular Products. For temporary products, see Creating Invoices - Temporary Products.
Product Fields
| Field | Required | Description | Max Length | Notes |
|---|---|---|---|---|
| Name | Yes | Product or service name | 100 chars | Displayed on invoices and in product lists |
| Model | No | Model number, SKU, or variant identifier | 100 chars | Helps differentiate similar products |
| Price | Yes | Unit price in your default currency | - | Must be a positive number |
| Description | No | Detailed product information | 500 chars | Shown in product lists and search results |
| Category | No | Product category for organization | - | Select from existing or create new category |
| Photo | No | Product image | - | Supports JPG, PNG, WEBP formats. Max 5MB |
| Active | Yes | Whether product is available for selection | - | Inactive products hidden from invoice creation |
Creating a Product
Step 1: Open Product Dialog
- Navigate to Products
- Click Create Product button (top-right)
- The product creation dialog will open
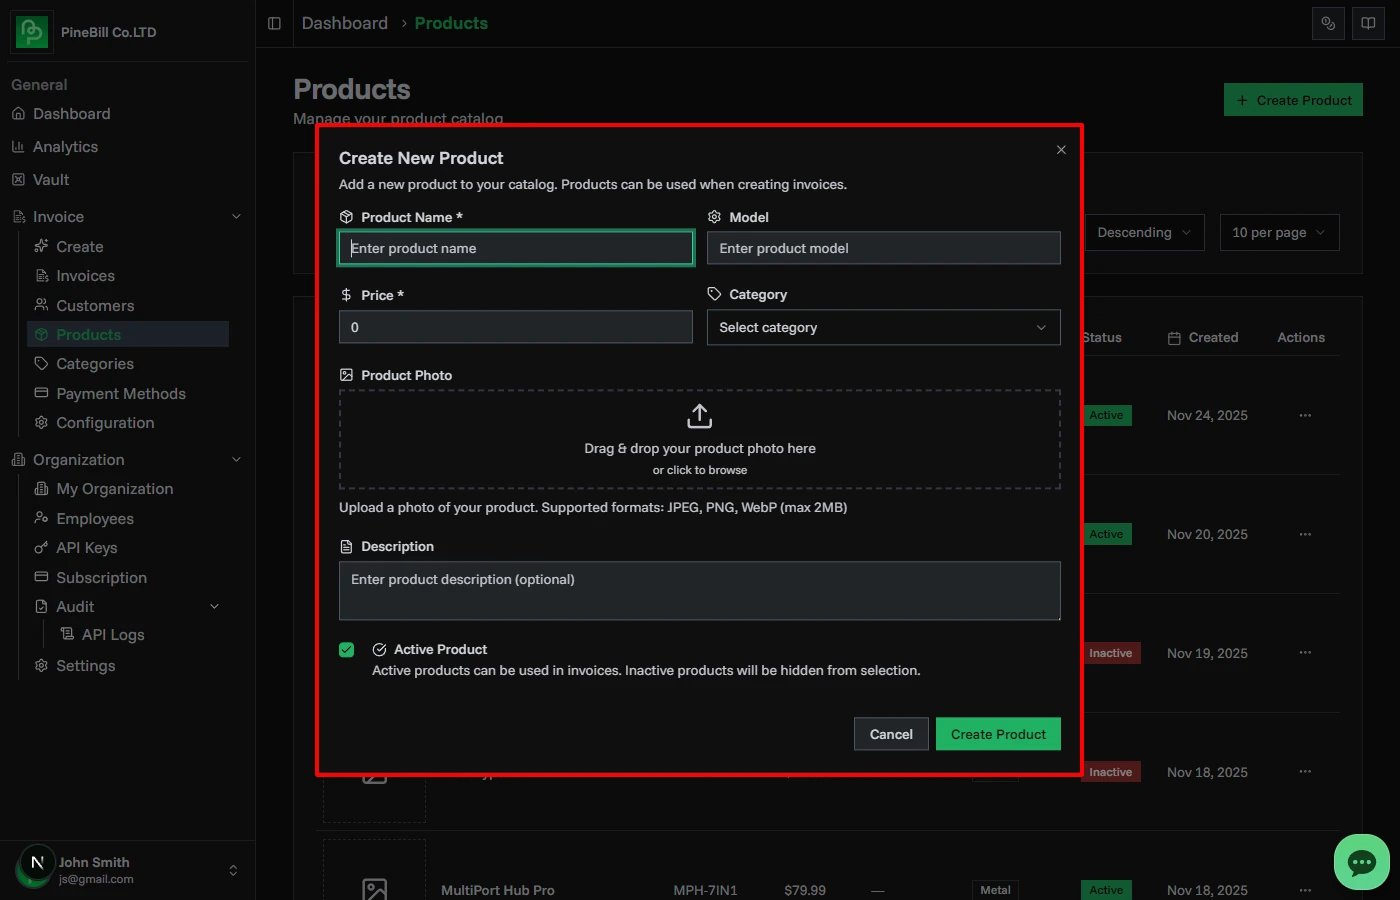
Step 2: Fill Product Details
Required Fields:
Product Name: Premium Laptop *
Price: 1299.99 *
Optional Fields:
Model: XPS-15-2024
Description: 15.6" display, 16GB RAM, 512GB SSD, Intel i7
Category: Electronics
Photo: [Upload image]
✓ Active Product
Step 3: Upload Photo (Optional)
Products with photos are easier to identify and look more professional:
- Click the Upload Photo button or drag-and-drop area
- Select an image file (JPG, PNG, or WEBP)
- Maximum file size: 2MB
- Image will be automatically uploaded to cloud storage
- Preview appears in the form
Photo Tips:
- Use square images (1:1 ratio) for best display
- Recommended size: 500x500px minimum
- Clear product images work best
- Photos appear in product lists and the inline product search dropdown
Step 4: Assign Category (Optional)
Organize products by assigning a category:
- Click the Category dropdown
- Select an existing category
- Or click Create New Category to add one
- Categories help filter and organize your product list
See Product Categories for more details.
Step 5: Set Active Status
The Active Product checkbox controls visibility:
- Checked (default): Product appears in search results and product selector
- Unchecked: Product hidden from search and selection but remains in catalog
Temporary Products
Temporary products are created during invoice generation and are NOT saved to your catalog.
When to Use Temporary Products
- One-time services or custom work
- Client-specific items that won't be reused
- Quick invoices without adding to catalog
Creating Temporary Products
- During invoice or estimate creation, go to the Products tab
- In the inline product row at the bottom of the table, type a product name that doesn't match any catalog product
- Fill in the remaining fields in the same row:
- Model/SKU (optional)
- Quantity (defaults to 1)
- Price
- Press Enter or click outside the row to add it
- The product is added to the invoice but not saved to your catalog
You can also edit the name, model, quantity, and price of temporary products after adding them by clicking directly on the value in the table.
Temporary vs Regular:
| Feature | Regular Product | Temporary Product |
|---|---|---|
| Saved to catalog | ✓ Yes | ✗ No |
| Reusable | ✓ Yes | ✗ No (one invoice only) |
| Has photo | ✓ Optional | ✗ Not supported |
| Has category | ✓ Optional | ✗ Not supported |
| Can be edited later | ✓ Yes | ✗ No |
Common Errors
Related Topics
- Product Categories - Organize products with categories
- Product Properties - Add custom attributes to products
- Creating Invoices - Add products to invoices