Expenses
Creating Expenses
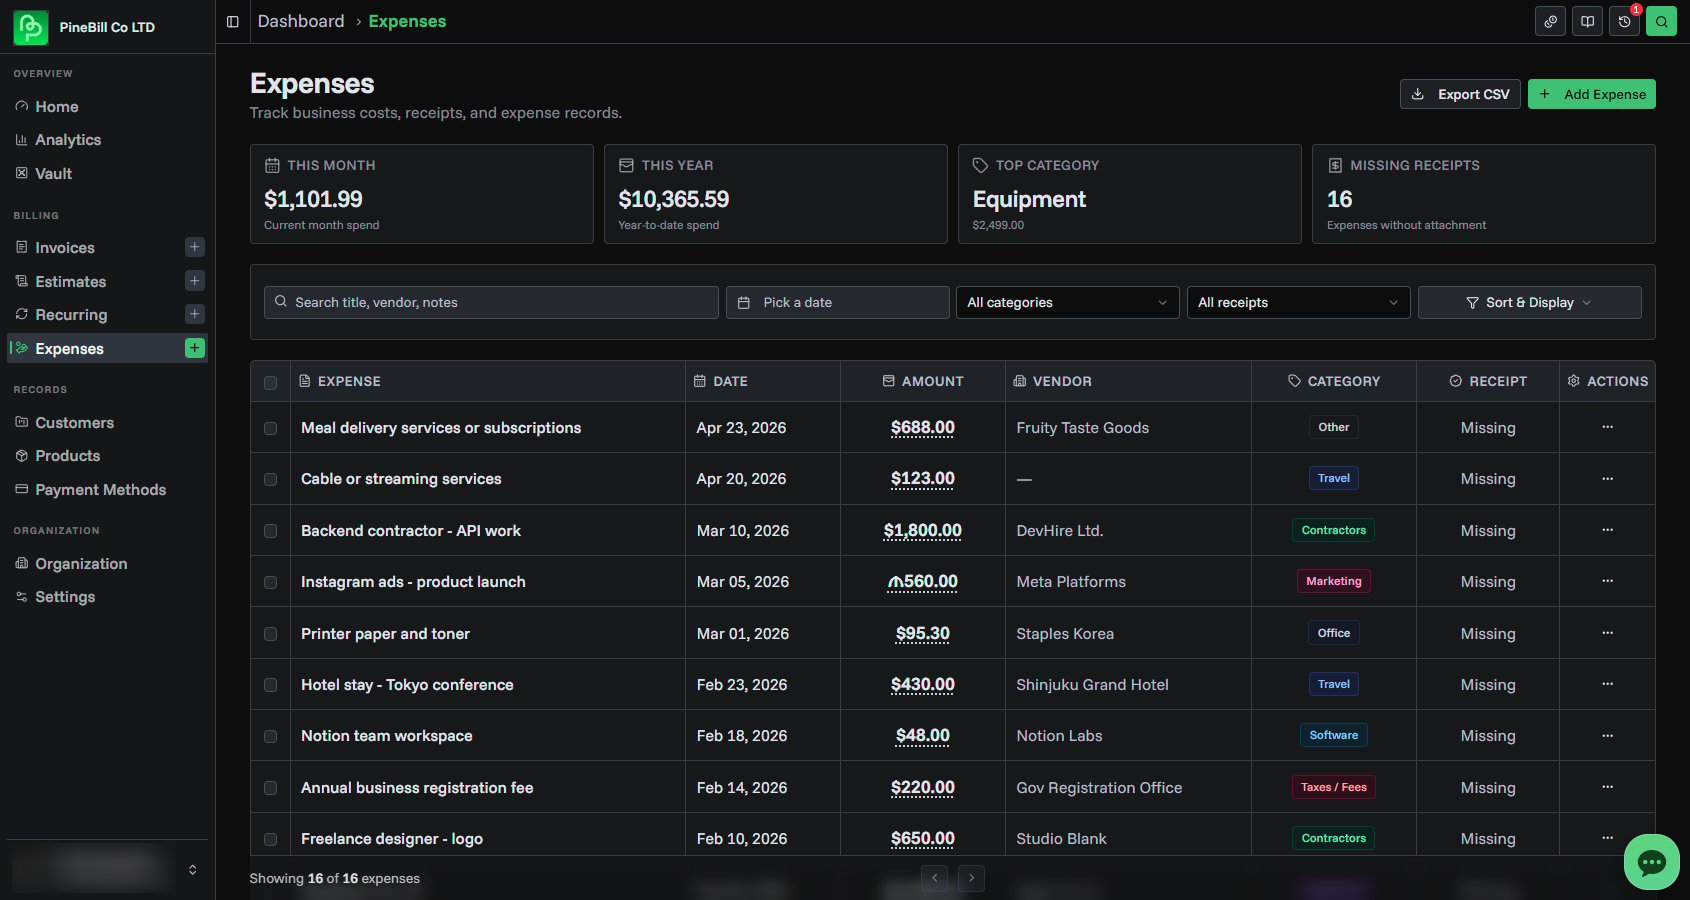
Add a business expense, attach receipts, and link it to customers or invoices.
Quick Start
Go to Dashboard -> Expenses and click Add Expense.
Expense Fields
| Field | Required | Notes |
|---|---|---|
| Title | Yes | Short name for the expense, such as "Client lunch" or "Figma subscription" |
| Amount | Yes | Must be greater than zero |
| Currency | Yes | Defaults to USD, but you can choose another currency |
| Date | Yes | Defaults to today |
| Category | Yes | Software, Office, Travel, Meals, Marketing, Equipment, Contractors, Taxes / Fees, or Other |
| Vendor | No | Merchant, supplier, or service provider |
| Payment Method | No | Card, cash, bank transfer, or another method |
| Customer | No | Link the expense to a customer |
| Invoice | No | Link the expense to an existing invoice |
| Receipt | No | Upload one image or PDF receipt |
| Notes | No | Internal context, tax notes, or project details |
Receipts can be PNG, JPG, JPEG, WebP, GIF, or PDF files up to 5MB.
Step-by-Step Guide
1. Open the Expense Form
- Go to Expenses
- Click Add Expense
- Enter a title, amount, currency, date, and category
2. Add Optional Details
Open More details to add:
- Vendor
- Payment method
- Customer
- Invoice
- Receipt
- Notes
If you select a customer first, the invoice picker only shows invoices for that customer. If you select an invoice first, PineBill fills the matching customer when one exists.

4. Save
Click Save Expense. The expense appears in the list and is included in totals, filters, export, and analytics.
After Saving
Once an expense is saved, you can:
- Open it from the Expenses list
- Edit details or notes
- View, replace, or delete the receipt
- Link it to a customer or invoice
- Convert it to an invoice draft
- Include it in CSV exports and analytics
Related Topics
- Expense Management - Manage and review expenses
- Extract from Receipt - Scan receipts with AI
- Creating Invoices - Finish invoice drafts from expenses
- Customers - Add customers before linking expenses