Calendar
Creating & Editing Events
Add calendar events, edit their details, drag to reschedule, and delete them.
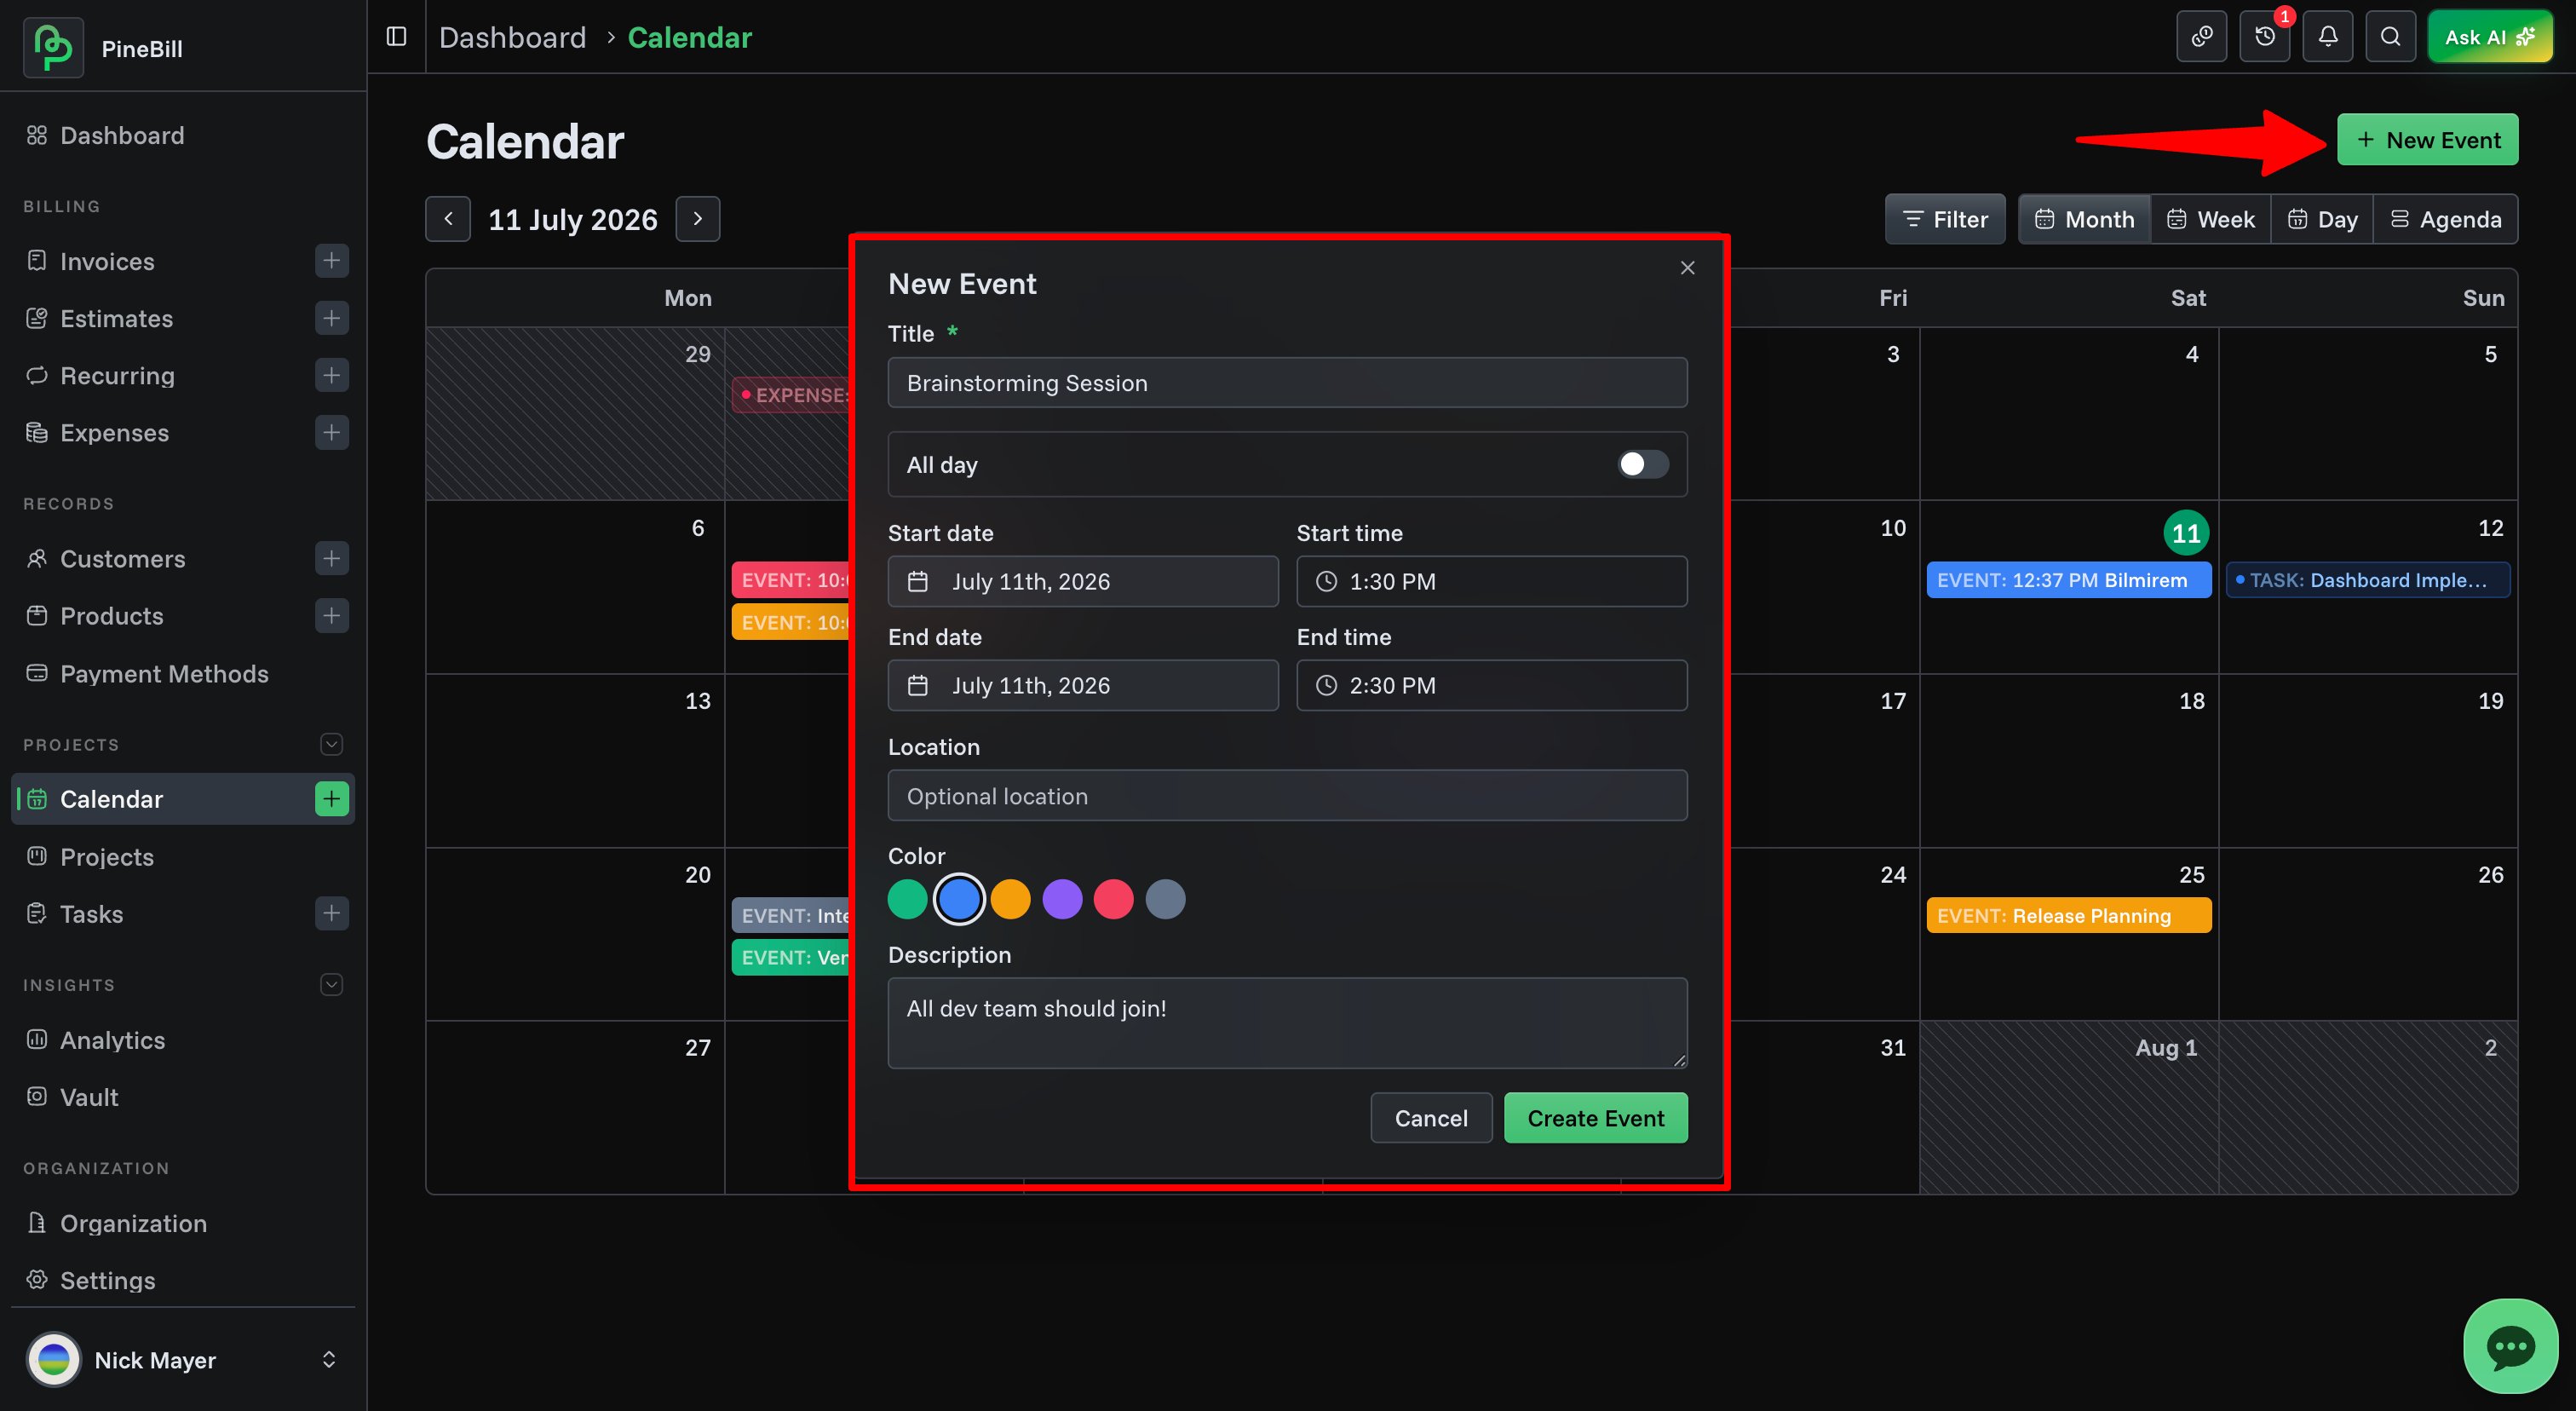
Creating an event
There are three ways to start a new event:
- New Event button — opens a blank event form.
- Click an empty day (Month view) — pre-fills that day as an all-day event.
- Click an empty time slot (Week / Day view) — pre-fills that day and hour as a one-hour timed event.
Event fields
| Field | Required | Notes |
|---|---|---|
| Title | Yes | Up to 200 characters |
| All day | No | When on, the time fields are hidden and the event spans whole days |
| Start date | Yes | — |
| Start time | No | Timed events only |
| End date | Yes | Must be on or after the start |
| End time | No | Timed events only |
| Location | No | — |
| Color | No | Choose from six preset colors |
| Description | No | Optional notes |
All times are interpreted in your organization's timezone.
On desktop, the new-event form floats over the calendar without a backdrop, so you can still see the calendar while filling it in.
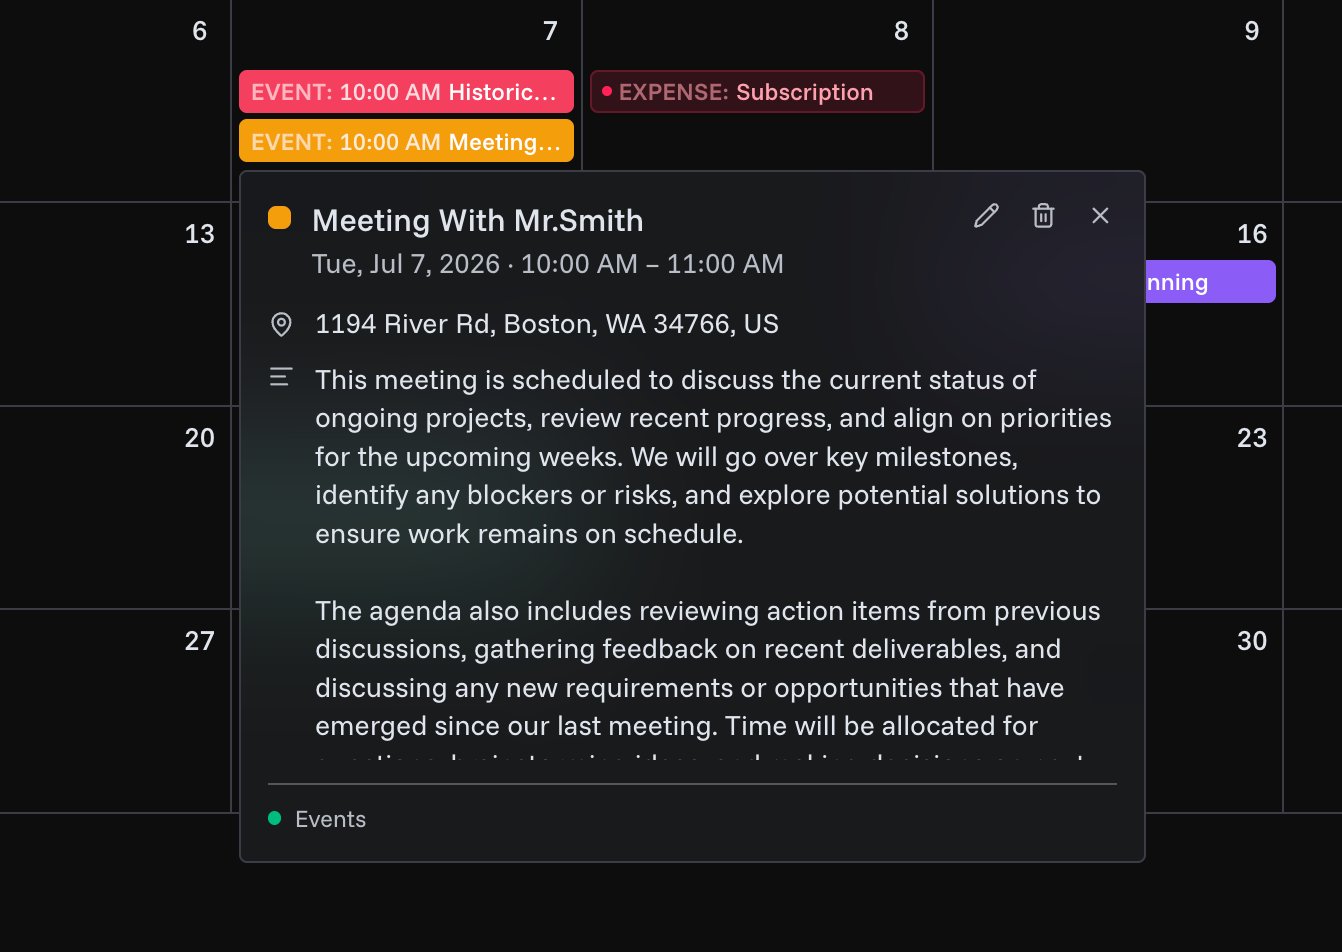
Viewing details
Click any item to open its details. What you see depends on the source:
- Events — location and description
- Tasks — status, project, assignee, and tracked time
- Invoices — status and amount
- Projects — status
- Expenses — amount
Read-only items include a link to open the source record.
Editing, rescheduling, and deleting
These apply to your own events only:
- Edit — open the event's details and click Edit.
- Reschedule — drag an event to another day or time slot. Its duration is preserved.
- Delete — click Delete in the details view, or right-click the event for a quick delete. Deleting asks for confirmation and cannot be undone.
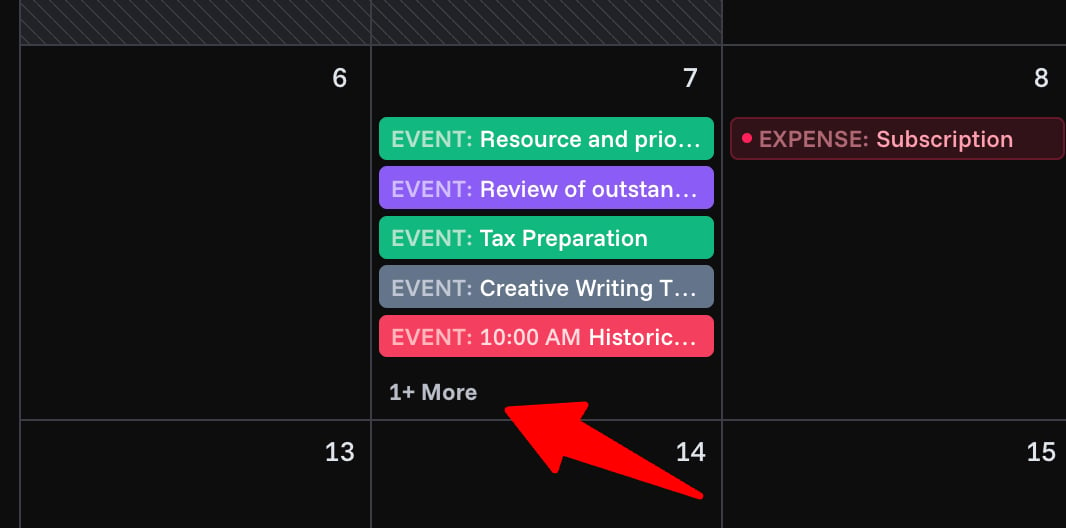
"+N more"
When a day has more events than fit in the month grid, the extras collapse into a "N+ More" button. Click it to see the full list for that day.