Creating Your First Invoice
Complete tutorial to generate and share your first professional invoice in PineBill.
Overview
Learn to create and share your first professional invoice, from adding customers and products to generating and sharing the PDF.
Add at least one customer and product to your organization first for faster invoice creation.
What You'll Need
- Customer name and email
- Product/service name and price
- Invoice and due dates
- Payment method details
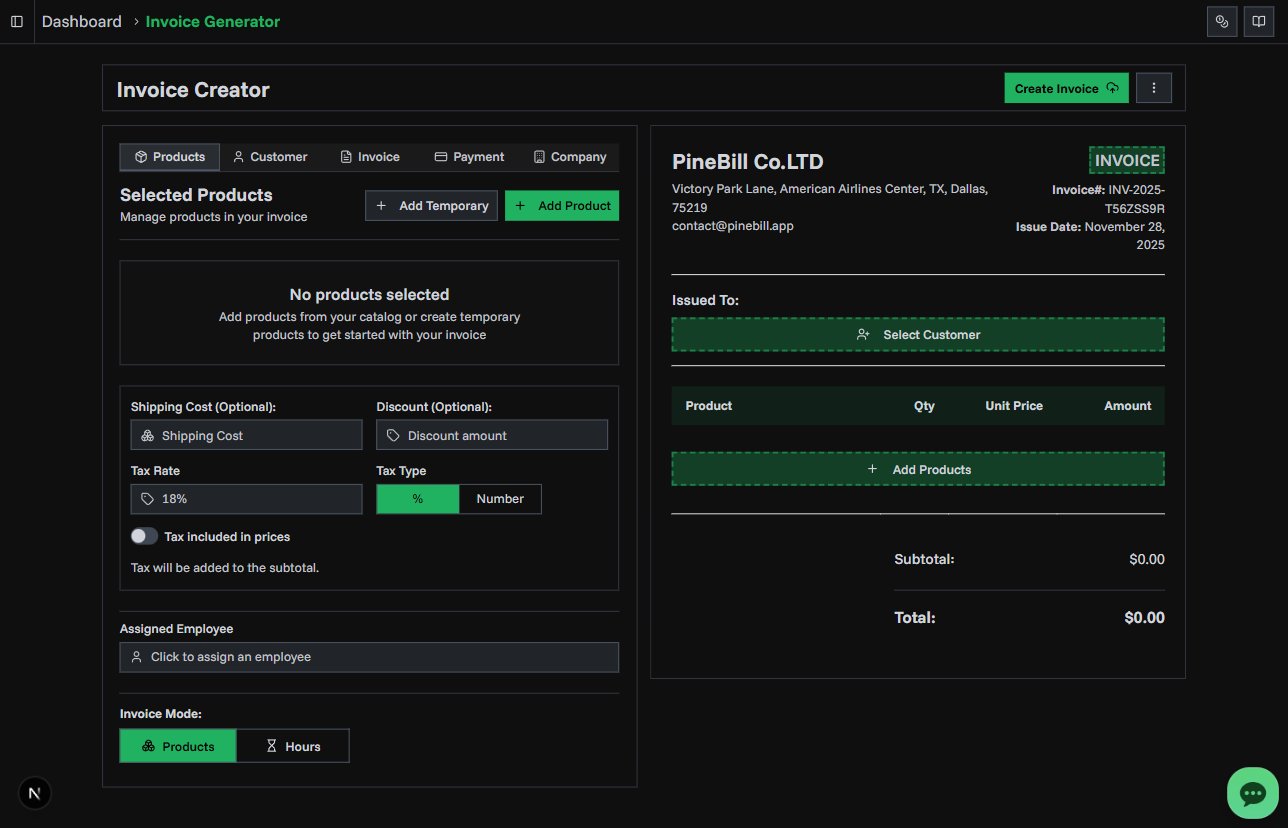
Creating Your Invoice
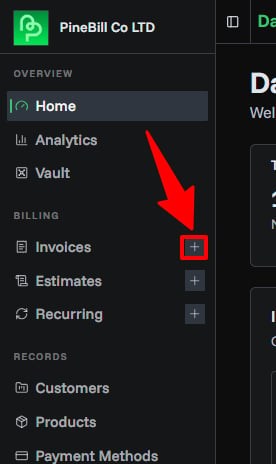
Open Invoice Generator
Click "Create Invoice" from the dashboard or "Invoices" → "New Invoice" in the sidebar.
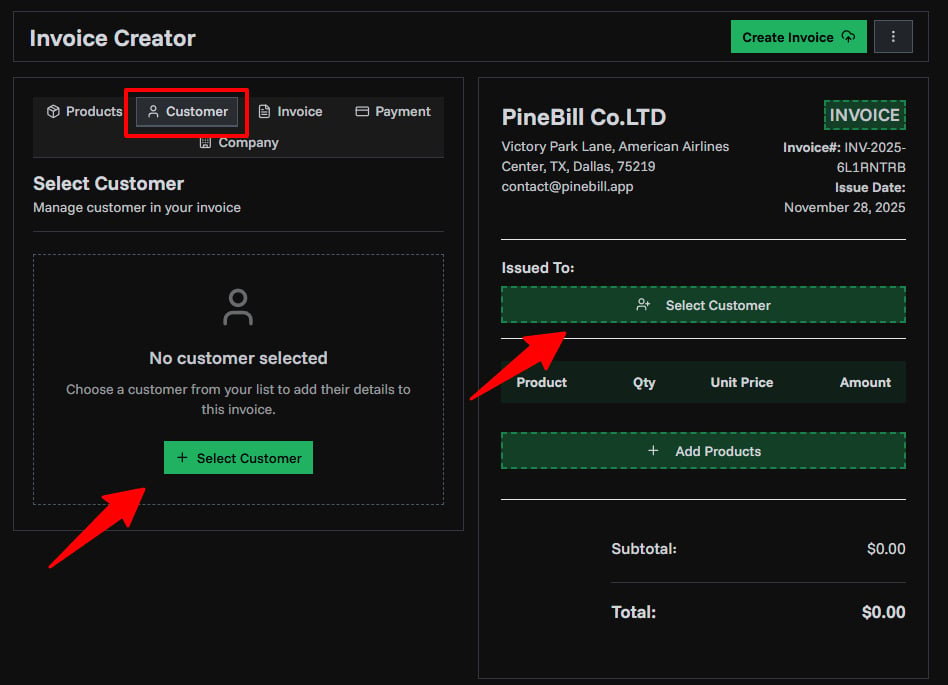
Add a Customer
Option A: Select existing customer - Click "Select Customer" and search or browse your list.
Option B: Add new customer - Click "Add New Customer", fill in name, email, phone, and address, then save.
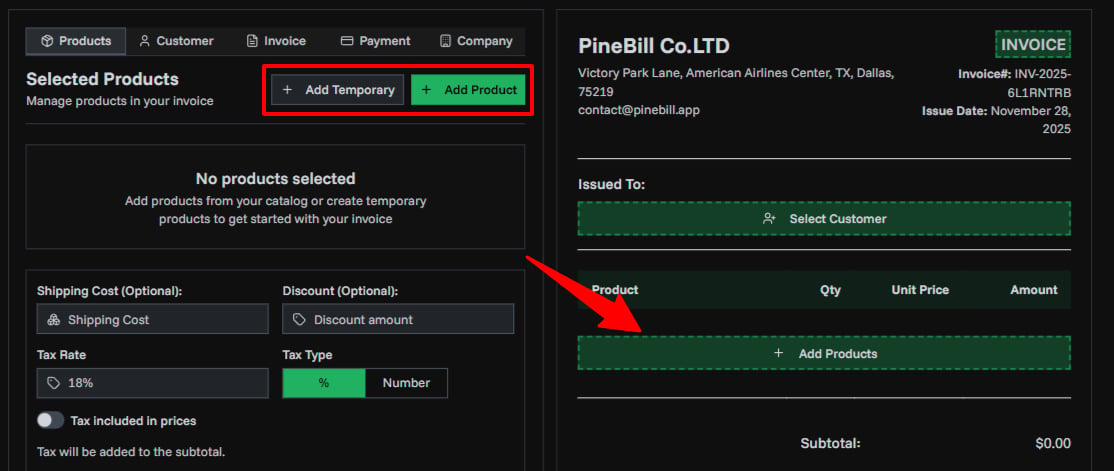
Add Items
From catalog: Click "Add Product", select product, set quantity.
Temporary item: Click "Add Temporary Item", enter name, price, quantity, and optional description (not saved to catalog).
Add multiple items as needed. Drag to reorder or click trash icon to remove.
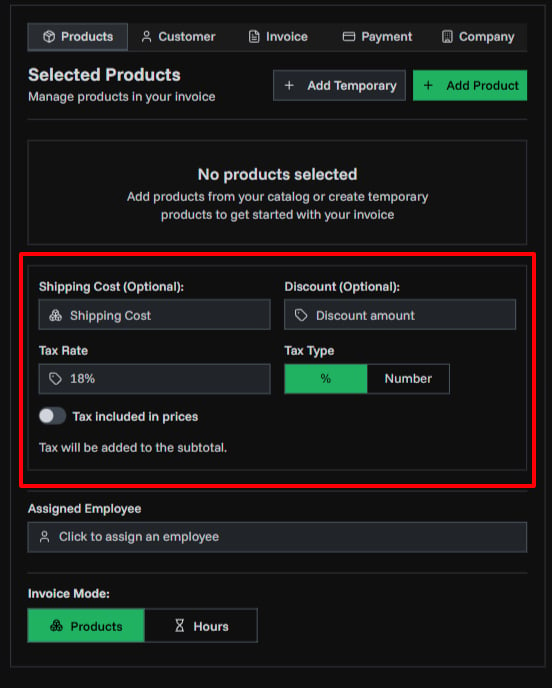
Configure Tax (Optional)
Enable tax, choose type (percentage or fixed amount), enter rate/amount. Tax is calculated on subtotal and shown in preview.
Add Discount (Optional)
Enter discount amount (applied to subtotal before tax).
Add Shipping (Optional)
Enter shipping cost (added after tax to final total).
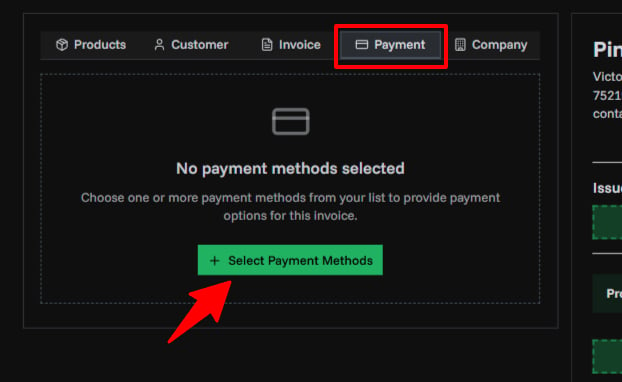
Add Payment Method
Click "Add Payment Method", choose type (Bank Transfer, PayPal, Crypto, or Custom), enter details, and optionally set as default. You can add multiple payment methods.
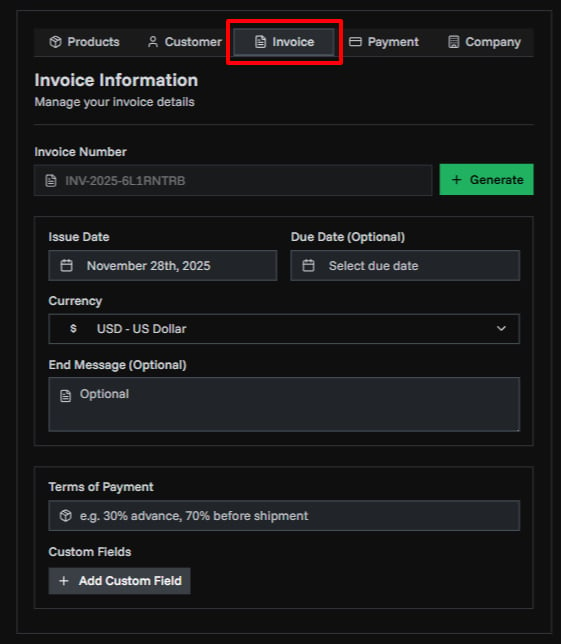
Set Dates
- Issued Date: Defaults to today
- Due Date: When payment is expected (use date picker or shortcuts like "Net 30")
Add Optional Details
- Payment Terms: Add conditions (e.g., "Payment due within 30 days")
- End Message/Notes: Personal message or instructions
- Digital Signature: Upload signature image (PNG/JPG)
- Custom Fields: Add PO number, project name, or other custom fields
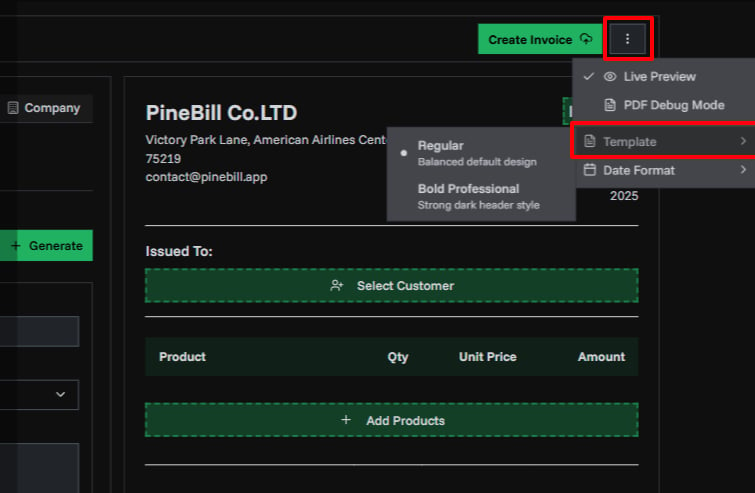
Choose Template
Select between Regular (clean standard layout) or Bold Professional (modern design) or one of the other available templates. Preview updates immediately.
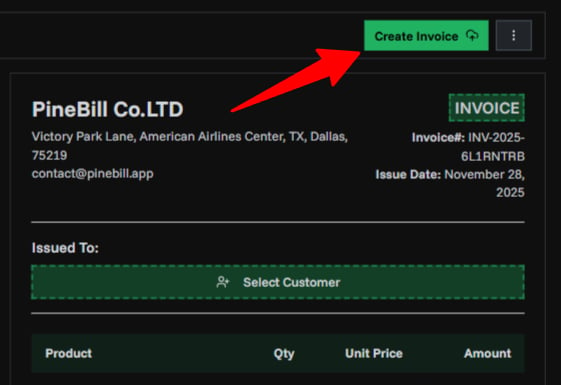
Generate Invoice
Review all details (customer, items, prices, tax, payment method, dates), then click "Generate Invoice". Your invoice is created with a unique invoice number.
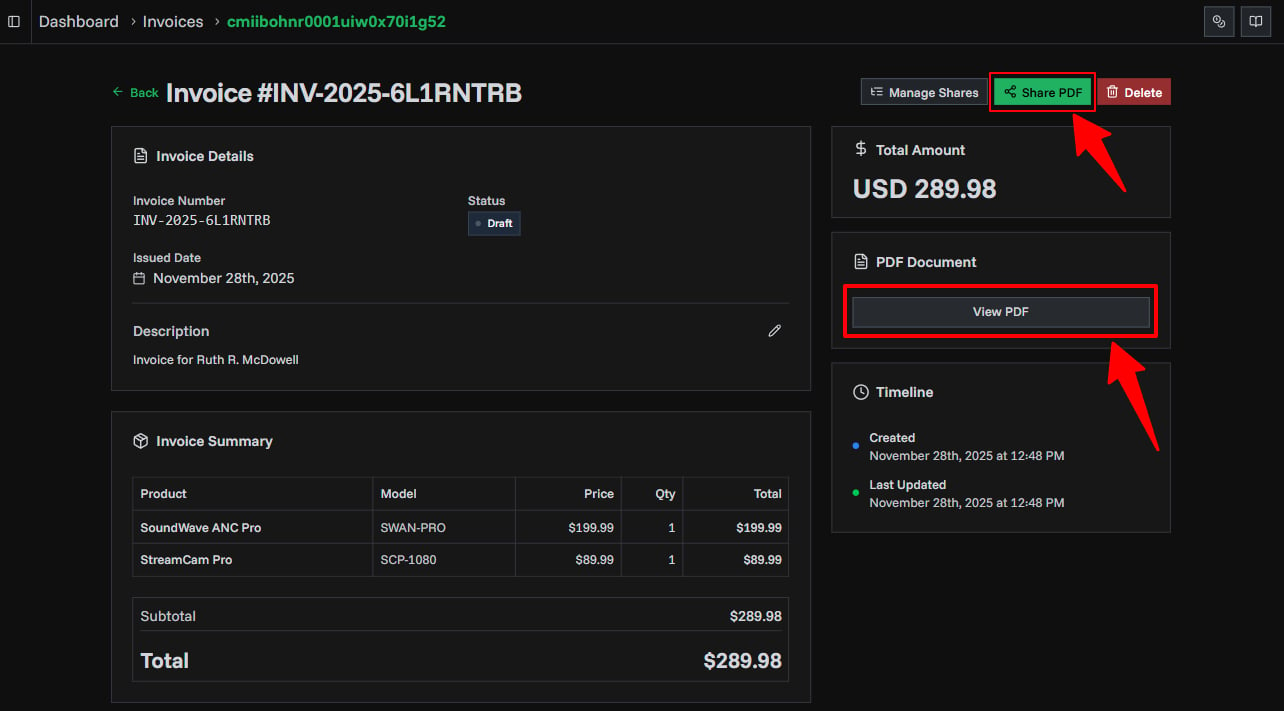
Share Invoice
Option A: Share link - Click "Share", configure options (expiration, view limit, password), generate link, and send to customer. Recommended for tracking and security.
Option B: Download - Click "Download PDF" and email manually.